Saturday morning I mused about the possibility of new garden furniture and the lovely boyf booked a round of golf in for the afternoon (instead of Sunday). Consequently, just as I was dropping him off, the heavens opened and I retreated home to sew: the second half of the corset was calling...
I rather love it when you done something once, the second half just flows. The only possibly tricky bit was the other side of the spoon busk (easing the buttons though the fabric) but, thanks to the flexibility of the linen I'm using, that went without a hitch. In fact, thanks to the timestamps on my photos, I know it took 9 minutes from the first photo to the last! In contrast, on my first corset, made with cotton, the same process took nearly forty minutes.
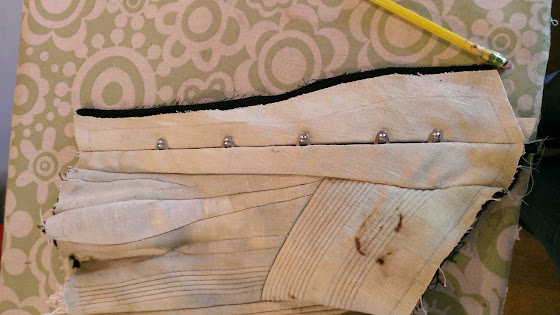
The first step is to stitch and press the new fabric panel and then line it up with the first side of the busk. Make sure that the seam edges fit neatly and snugly together and then mark the placement of each button.
 |
| One busk + one matching fabric panel, stitched and pressed |
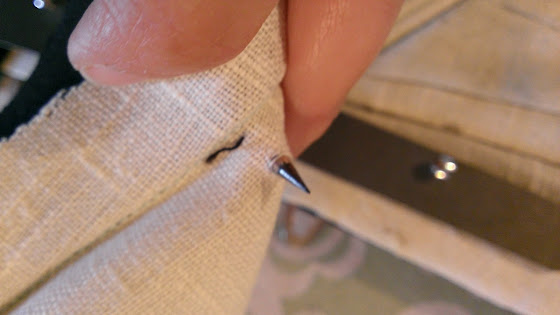
To make the button holes you need an awl and a sharp pencil. The trick it to carefully separate the threads of the fabric and then create a hole that is big enough to ease the button through, but will not tear the fabric. If the fabric remains intact it will remain strong and secure; tears will need to be repaired otherwise they gradually will weaken further as the corset is worn. To make the hole first ease the awl in and gently wiggle it, to part the fabrics, until you have a hole the size of the base of the awl.
 |
| One small awl hole... |
 |
| and one larger pencil hole. |
One hole made and the trick is to then gently ease the button through. The linen made it easy as it is so flexible but it is still so important to take your time and care with this stage as the hole will not be quite big enough and any forcing will cause the fabric to tear. Once the button is through, gently push the threads back together, around its base, with the awl.
Et voila! Five perfect button insertions, and a gratuitous glimpse of my gorgeous new slippers ;o)
And we have a corset...
We're getting there, slowly. There's still plenty to do: eyelets (I was too punch drunk to risk them on Saturday, they need a steadier mind and hand!), finishing the seams, hems (including the boning on the bottom ones), the emboidery and any decoration, but for now I shall just enjoy it being in one piece... and have a proper think about how the rest of this mermaid is now going to take shape.


No comments:
Post a Comment